
Bushcraft Kit List
The complete bushcraft kit list: the 10 C's, full checklists by category, season and trip length, weight targets and a beginner budget plan.
Packs, tarps, sleep systems and clothing that work.
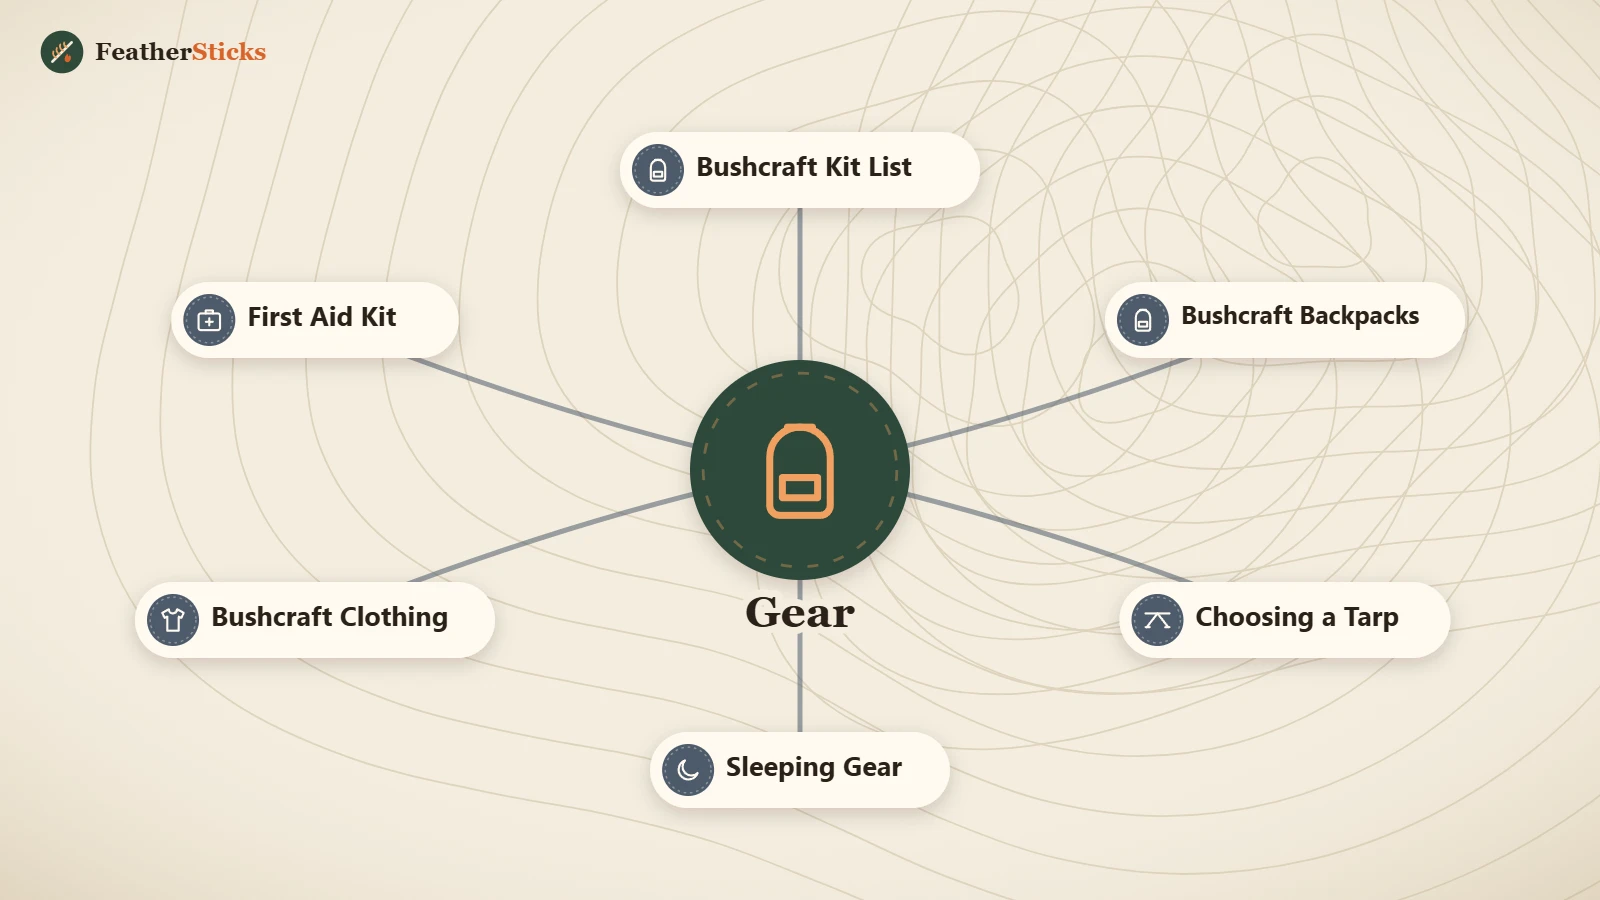
The right bushcraft gear keeps you safe and comfortable without weighing you down. This section helps you build a kit piece by piece, starting with what matters most for a safe night out. Begin with the complete bushcraft kit list – the 10 C's plus checklists by season and trip length – then go deeper into each part of your kit.
Your sleep system comes first: our guide to sleeping gear explains comfort ratings and pad R-values. A well-chosen roof follows – see choosing a tarp for sizes and fabrics. Dress for the conditions with bushcraft clothing based on the layering system, and pick one of the bushcraft backpacks that carries everything comfortably. A compact first aid kit – and the knowledge to use it – belongs on every trip.
When you are ready to put it all together, the Kit Builder creates a complete, weighted packing list for your trip length, season and shelter, and the sleeping bag calculator and wind chill calculator help you match gear to the weather. New to the woods? Start with bushcraft for beginners.
The complete bushcraft kit list: the 10 C's, full checklists by category, season and trip length, weight targets and a beginner budget plan.
Choose a bushcraft backpack that carries well: litres by trip length, frame types, fitting steps, packing order, canvas vs synthetic and rain protection.

How to choose a bushcraft tarp: sizes for 1–4 people, polyester vs silnylon vs DCF vs poly-cotton, tie-outs, waterproofing, weight and colour.

Sleeping bag temperature ratings explained: ISO 23537 comfort vs limit, down vs synthetic, pad R-values, bivvy bags, quilts and hammock insulation.

Bushcraft clothing that keeps you warm, dry and safe by the fire: layering system, wool vs synthetic vs cotton, trousers, boots and winter layers.
What belongs in a bushcraft first aid kit, basic vs extended, and first steps for cuts, burns, blisters, ticks and hypothermia. Emergency: 112 / 911.
Bushcraft gear is often discussed in terms of knives and axes, but the items that decide whether a night out is safe and enjoyable are less glamorous. Cold and wet are the main risks on an overnight trip, so the order in which you build your kit should follow those risks. A beginner with a mid-range sleeping bag, a simple tarp and a good rain jacket will have a better night than someone with an expensive knife and a summer bag in October.
Build your kit in this order
Fire, water and tools are listed fourth not because they are unimportant, but because they are cheap to get right: a ferro rod, a lighter, a single-wall steel bottle and a decent fixed-blade knife cost little compared with a warm sleeping bag. Skills matter here more than money – our guides on fire starting, filtering water and bushcraft knives show how to use them. The pack comes last for a practical reason: you only know how many litres you need once the rest of your kit is on the floor in front of you.
Base weight is everything you carry except food, water and fuel. It is the number to work on if your pack feels too heavy. The values below come from the Kit Builder for a two-day trip with typical mid-range gear – not ultralight, not military surplus. They include carried clothing but not the pack itself, which adds 1.2–2.5 kg.
| Season | Tarp | Tent | Natural shelter | Food + water | Pack volume (tarp) |
|---|---|---|---|---|---|
| Summer | ≈ 5.4 kg | ≈ 6.0 kg | ≈ 4.9 kg | ≈ 2.4 kg | 50 L |
| Autumn | ≈ 7.5 kg | ≈ 7.7 kg | ≈ 7.0 kg | ≈ 2.4 kg | 50 L |
| Winter | ≈ 8.5 kg | ≈ 8.7 kg | ≈ 7.9 kg | ≈ 2.8 kg | 65 L |
Values from the Kit Builder with plenty of water sources (1 L carried). Optional items such as a winter hatchet or stove are not included.
The jump from summer to autumn comes almost entirely from the sleep system and insulation: a 0 °C sleeping bag, an insulated air pad, a bivvy bag and a synthetic jacket. Winter adds a −10 °C bag, a second pad and a parka. If you want to carry less, work on these big items first – a down bag, a lighter tarp or a lighter pack save far more than trimming toothbrush handles. Never trim safety items: first aid kit, headlamp, fire starters, water treatment and a warm, dry layer. Our backpack guide explains how to carry the load comfortably, and the hiking time calculator shows how pack weight affects your walking time.
You do not need to buy a complete kit before your first night out. Most beginners already own half of what they need, and much of the rest can be borrowed, bought second-hand or made. Bushcraft also has a long tradition of making your own gear – from wooden spoons and pot hangers to cordage, tarp pegs and even bags. The decision tree below helps you decide item by item.
Buy, borrow or DIY?
Is it a safety item (sleep system, rain jacket, first aid, headlamp)?
Are you unsure whether you will use it often?
Can you make it from natural materials or simple parts?
A realistic starter approach: use the outdoor clothing you already have (avoiding cotton next to the skin in cold weather), borrow a sleeping bag and pad rated for the season, buy a polyester tarp, a ferro rod and a steel bottle, and carve your own pegs and pot hanger. After three or four nights out you will know exactly what limits you – and that is what to invest in next. The kit list includes three budget tiers without brand recommendations.
Well-maintained bushcraft gear lasts for decades; neglected gear fails at the worst moment. Most care is simple and happens in the hour after you get home: unpack everything, dry it completely and check it for damage before it goes back into storage.
After-trip care checklist
Store gear in a cool, dry, dark place. Sunlight weakens nylon and coatings, heat speeds up the breakdown of PU layers and damp encourages mould on cotton, leather and down. Keep fuel canisters and lighters separate from fabrics. Before each season, set up the tarp in the garden, inflate the air pad overnight to check for slow leaks and shake out the sleeping bag to restore its loft. Small repairs – a restitched tie-out, a patched pad, a new cord lock – take minutes at home and hours in the rain.
Good care also means safe care. Dry wet gear under a tarp or near the fire only at a safe distance: synthetic fabrics melt and down bags burn. Read campfire safety before you string a drying line near the flames, and keep sharp tools sheathed when they are not in use.
There is no single perfect kit. In mild, wet climates such as the British Isles, the Atlantic coast or the German uplands in autumn, moisture management matters most: synthetic insulation, a bivvy bag under the tarp, spare socks and dry bags for everything. In cold, dry continental or Nordic winters, down insulation, thicker ground insulation and a warm parka for camp come first, and a small stove becomes a real safety item. In summer heat, water capacity, sun protection and insect protection replace much of the insulation.
Companions change the kit as well. Two people can share one larger tarp, one pot, one saw and one first aid kit, which saves weight for both. With children, pack more spare clothing, more snacks, a warmer sleep system than you would use yourself and a bigger first aid kit – and keep sharp tools under supervision. Whatever the situation, run your plan through the Kit Builder and adjust from there.
Gear is only half of bushcraft. The same tarp becomes a dry shelter or a flapping sail depending on your knots and site choice; the same sleeping bag keeps you warm or cold depending on how you use it. Once your kit is sorted, practise with it: pitch the tarp using our tarp shelter setups, learn the essential knots, and choose a good spot with the help of choosing a camp site. Each skill you learn lets you carry a little less – and use what you carry much better.
Trip length, season and shelter in — complete weighted packing list out.

Which comfort rating and pad R-value you need for the night’s low, your shelter and sleep type.
Feels-like temperature and frostbite risk from air temperature and wind speed.
The right tarp pitch for your weather, with ridge height, floor space, cord length and stakes.